iTakeApart · Gaming Controllers & Handhelds · Stick drift · four controllers in 3D
How to Fix Stick Drift on PS5, Xbox, Switch and Steam Deck
Stick drift is a stick that reports a push nobody makes. Test it first, then see what your controller needs: on a Joy-Con or a Steam Deck the stick unplugs from a ribbon, on a DualSense or an Xbox controller it is soldered to the board. Each repair opens in 3D, with its screws, cables and traps shown before you start.
From the symptom to the fix
Test it first
Put the controller down, take your hands off it and run the 3-second drift test in our gamepad tester: it shows how far each stick rests off centre. Our own rule of thumb, not a standard: under 5% of the throw reads as centred, 10% or more as drift.
Open the gamepad tester →
Why sticks drift
In a DualSense each axis is a potentiometer, a wiper sliding over a carbon track; in a Joy-Con, metal prongs slide over softer contact pads. As they wear and dust gets in, or a centring spring tires, the reading at rest wanders off centre.
Cleaning helps, for a while
When dust is the cause, a Joy-Con’s contact pads can be washed with contact cleaner, and a DualSense’s potentiometer opens under its green cover, with no soldering, to be wiped with isopropyl alcohol of 90% or more. Worn pads or a worn track keep drifting: a new stick is the lasting fix.
Unplug or desolder
Joy-Con: the stick comes out on its ribbon from a ZIF latch, held by two screws. Steam Deck LCD: the right stick unplugs the same way, held by three 5.2 mm screws. DualSense and Xbox Series controller: each stick module is soldered to the board by 14 joints, so the job needs an iron and a desoldering pump or wick, and on the Xbox the eight motor wires are desoldered first.
Hall-effect and TMR sticks
Both read the stick’s position from a magnet, so nothing rubs and wears the way a potentiometer’s wiper does; TMR is a newer kind of sensor. They go in like the stick they replace: plugged in on a Joy-Con, soldered in on a standard DualSense or an Xbox controller. The DualSense Edge’s stick modules are made to be swapped by hand.
Calibrate it afterwards
A new stick, Hall-effect or not, rests at a slightly different centre and can read as drift until it is calibrated. On a Switch: System Settings, Controllers and Sensors, Calibrate Control Sticks. On a Steam Deck, once the Deck is closed. iFixit’s DualSense guide uses a free calibration tool that runs in a web browser.
The four controllers side by side
| Controller | Overall risk | Soldering | How the stick comes out | Screws in the 3D guide | Fix it yourself | Repair shop | Fix or replace? At $25/hr | 3D guide |
|---|
| DualSense | High | Yes: 14 joints a stick | Desoldered: 14 joints, with the board folded out on its motor wires | | $14.99–$29.99 | $35–$60 | 🔴 Replace Instead — Not Worth Opening | Open 3D Guide → |
|---|
| Xbox controller | High | Yes: 14 joints a stick | Desoldered: 14 joints, once the 8 motor wires and the board are off | | $9.99 | $30–$55 | 🔴 Replace Instead — Not Worth Opening | Open 3D Guide → |
|---|
| Joy-Con | Medium | No | Unplugged: its ribbon from a ZIF latch, then 2 screws | - Y00 6.2 mm ×4
- PH00 3.5 mm ×5
| $19.99 | $25–$45 | 🔴 Replace Instead — Not Worth Opening | Open 3D Guide → |
|---|
| Steam Deck | Medium | No | Unplugged: ZIF flap up, then 3 screws (right stick) | - PH1 9.5 mm ×4 5.8 mm ×4
- PH0 5.2 mm ×3 3.7 mm ×2 3.4 mm ×2
| $39.99 + $19.99 tools | No sourced figure | 🟡 Consider a Repair Shop | Open 3D Guide → |
|---|
Each price is the guide’s own sourced estimate, and each verdict the Fix or Replace? calculator’s with your time worth $25/hr: pick another rate there. Figures are estimates in US dollars, read on makers’ and shops’ own pages in October 2026 and November 2026; they vary by shop and country, and the pages are listed with the guide’s sources. Compare other devices in the Fix or Replace? calculator →
Sticks, traps and the 3D repair, controller by controller
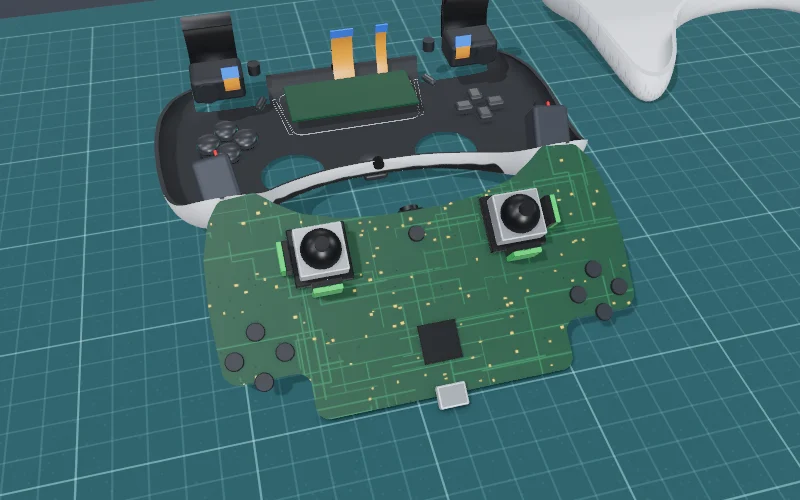
- Overall riskHigh
- Time45 min, more to solder
DIY: a new stick about $15, a magnetic one $30Shop: about $35–$60 a stick
PartHall-effect or TMR stick module or a standard potentiometer oneFind ↗
Costliest trap · step 6Yanking the adaptive-trigger ribbon cables
🔴 Replace Instead — Not Worth Opening The repair you would choose costs about 63% of a replacement: over our 60% line.
Open 3D Guide →Fix or replace? See the verdict →
US prices, checked October 2026; they vary by shop and country.
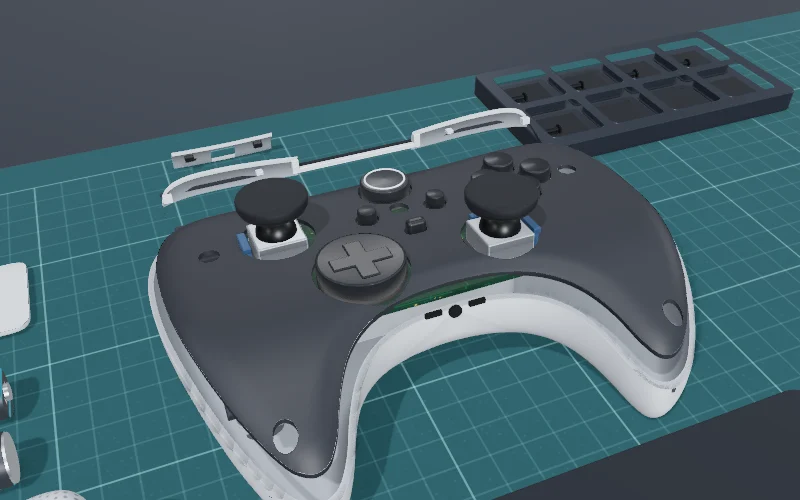
- Overall riskHigh
- Time30 min; 1–4 h with a stick
PartStick module or a Hall-effect oneFind ↗
Costliest trap · step 9Lifting the mainboard on its motor wires
🔴 Replace Instead — Not Worth Opening The repair you would choose costs about 86% of a replacement: over our 60% line.
Open 3D Guide →Fix or replace? See the verdict →
US prices, checked October 2026; they vary by shop and country.
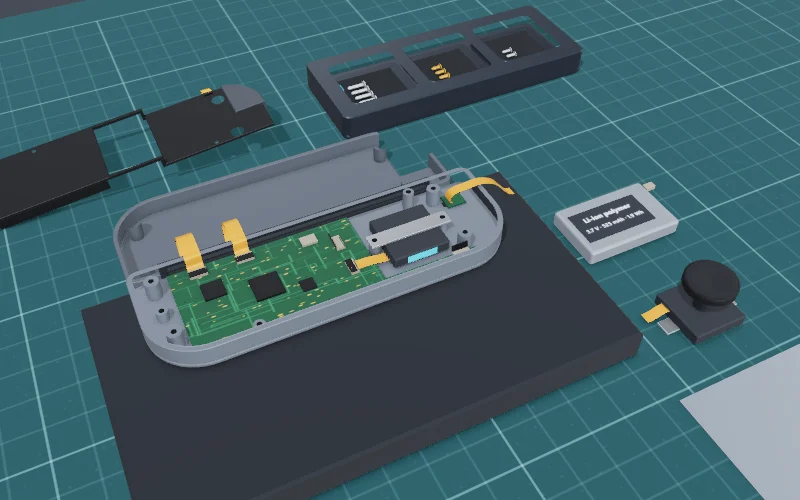
- Overall riskMedium
- TimeAbout 30 min
DIY: stick and tool kit about $20Shop: about $25–$45 a stick
PartJoy-Con analog stick standard or Hall-effectFind ↗
Costliest trap · step 5Pulling the stick ribbon with its latch still down
🔴 Replace Instead — Not Worth Opening The repair you would choose costs about 78% of a replacement: over our 60% line.
Open 3D Guide →Fix or replace? See the verdict →
US prices, checked October 2026; they vary by shop and country.
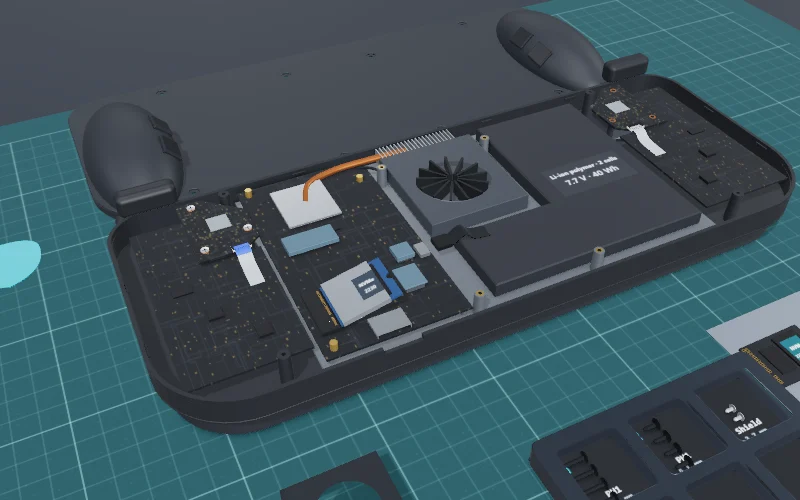
- Overall riskMedium
- TimeAbout 45 min
DIY: Valve’s right stick $39.99, toolkit $19.99Shop: varies by shop
PartRight thumbstick Type A or B, by Controller IDFind ↗
Costliest trap · step 7Lifting the stick before freeing its flex
🟡 Consider a Repair Shop It has a delicate ribbon-cable trap (step 7).
Open 3D Guide →Fix or replace? See the verdict →
US prices, checked October 2026; they vary by shop and country.
How the verdict works: our own rules of thumb, not statistics. DIY wins when the 3D risk is low or medium and doing it yourself saves over 40% against a replacement (against a shop’s price where buying new does not apply). Replace instead when the device is sealed or potted, or the repair costs over 60% of a replacement. Consider a shop when the risk is high, the job needs soldering or it has a delicate ribbon-cable trap. Your time counts at the rate you pick. The links open a shop search; we earn nothing from them.
Questions
What causes stick drift?
Wear inside the stick. A DualSense stick reads each axis with a potentiometer, a wiper on a carbon track; a Joy-Con stick has metal prongs on softer contact pads. As they wear or dust gets in, or a centring spring tires, the stick reports a small push while it is at rest.
Which controllers need soldering to replace a stick?
The standard PS5 DualSense and the Xbox Series X|S controller: each stick module is held to the board by 14 solder joints. The Switch Joy-Con’s stick and the Steam Deck LCD’s right stick unplug from a ZIF connector and need no soldering. The DualSense Edge’s stick modules are made to be swapped by hand.
Can I fix stick drift without replacing the stick?
Sometimes, for a while: when dust is the cause, cleaning the contacts helps, and a DualSense’s potentiometer can be opened and cleaned without soldering. Worn contacts keep drifting, and a new stick is the lasting fix. Test it first with our gamepad tester to see how far it rests off centre.
Do Hall-effect or TMR sticks stop drift?
They remove its usual cause: both read the stick’s position from a magnet, so no wiper rubs a track. They go in like the stick they replace, plugged in on a Joy-Con and soldered in on a DualSense or an Xbox controller, and any new stick needs calibrating.
Should I repair it or buy a new controller?
Our Fix or Replace? calculator weighs it for each controller by our own rules of thumb: the part, the tools and your time against a shop’s price and a new one. A soldered stick or a delicate ribbon trap counts as shop work, and at the shop prices we found, a new DualSense, Xbox controller or Joy-Con often comes out ahead.
Sources
Every step, screw and price on this page comes from the 3D guide it links to, where that guide’s sources are listed.